
I’ve finally gotten around to getting my first little tutorial video up on YouTube! I can’t count the amount of times over the years that people have asked me how I do the twisted rib stitch in my patterns.
It seems that a lot of the videos you guys find instruct how to work it in different ways and there’s a little confusion on how I do it.
I haven’t actually ever searched it myself, but learned to do it from a wool and the gang pattern I did when I first started knitting.
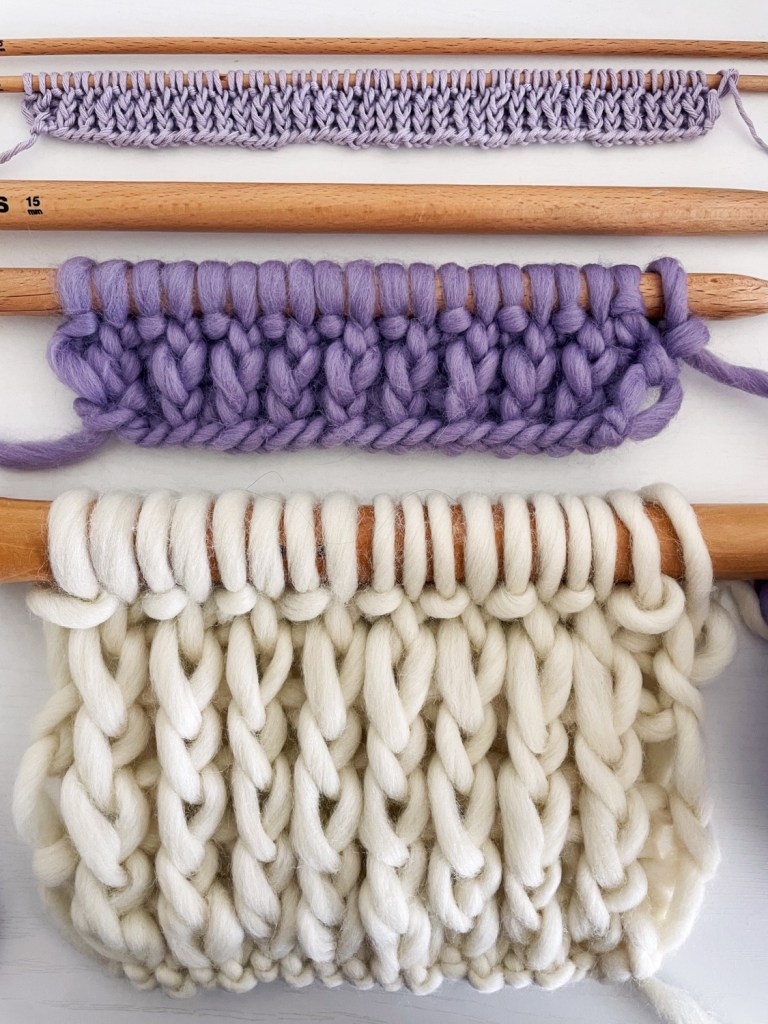
It is a very simple stitch. You’ll just be knitting and purling through the back loops. That’s it! For 1×1 twisted rib, you’ll knit and purl from the back loops, alternating knit and purl. For 2×2 twisted rib, you’ll do the same thing except work two knit stitches through the back loops, followed by two purl stitches through the back loops.
I use twisted rib stitch in nearly all of my patterns! My winter magic sweater pattern is worked in all twisted rib, with different needle sizes for the waistband, wrists, and turtleneck part. It’s a fun one to do if you want to get better with working twisted rib!
You’ll want to make sure that you’re knitting the knit stitches and purling the purl stitches for each row of twisted ribbing. Otherwise you will end up with what looks like almost a twisted moss stitch. Which actually looks pretty cool! Someone had accidentally done that and sent me a photo of it.
If you’re knitting and purling through the back loops, you’re doing it right!:)


Leave a comment