Tag: knitting tutorial

  • Tutorial: 2×2 Twisted Rib Stitch

    Tutorial: 2×2 Twisted Rib Stitch

    I’m working on a new design where I’m doing a 2×2 twisted rib stitch and figured I’d give a short tutorial on how to work that.

    I use twisted ribbing in all of my patterns (the ones after I learnt it) that require ribbing. I absolutely love the braided, clean, cute look of it. It’s simple, it’s easy, and in my opinion, really elevates the knitwear. Plus, it’s quite fun to do!

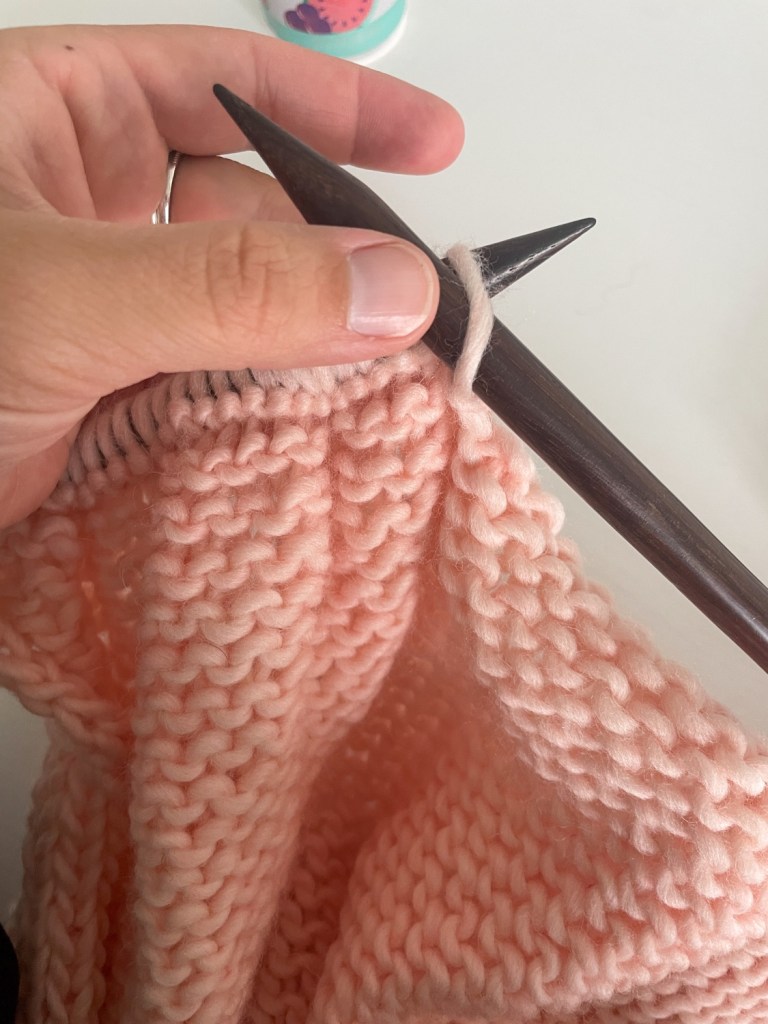
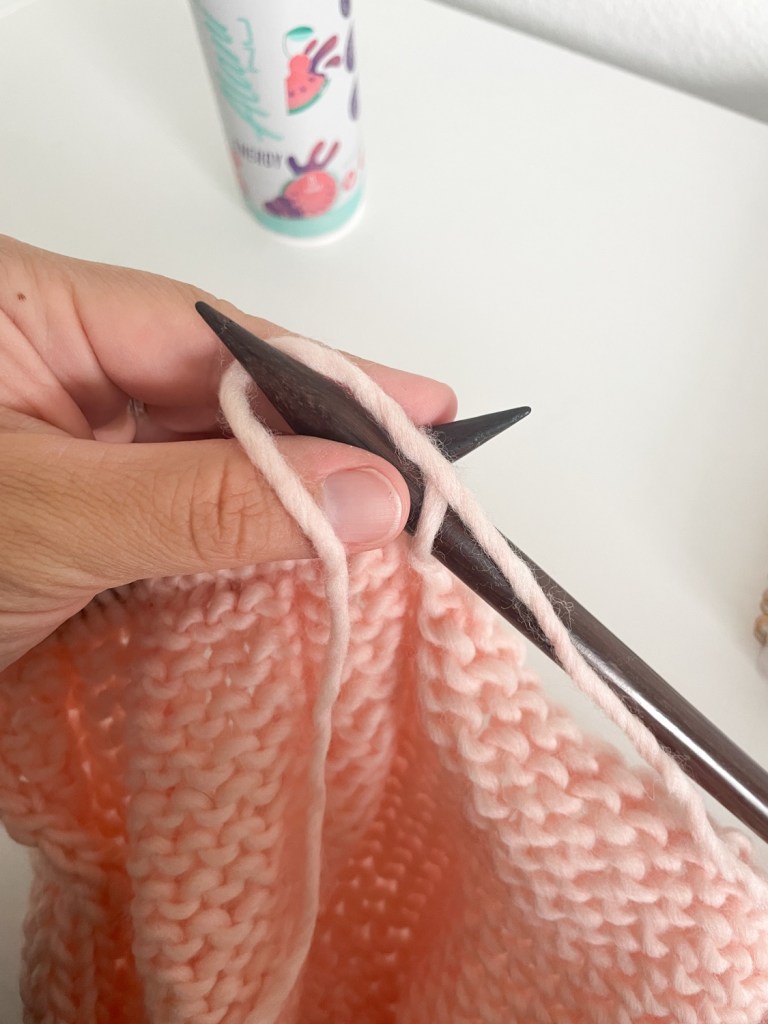
    Step One- cast on an even number of stitches.

    Step two- knit the first two stitches through the back loops on your left hand needle.

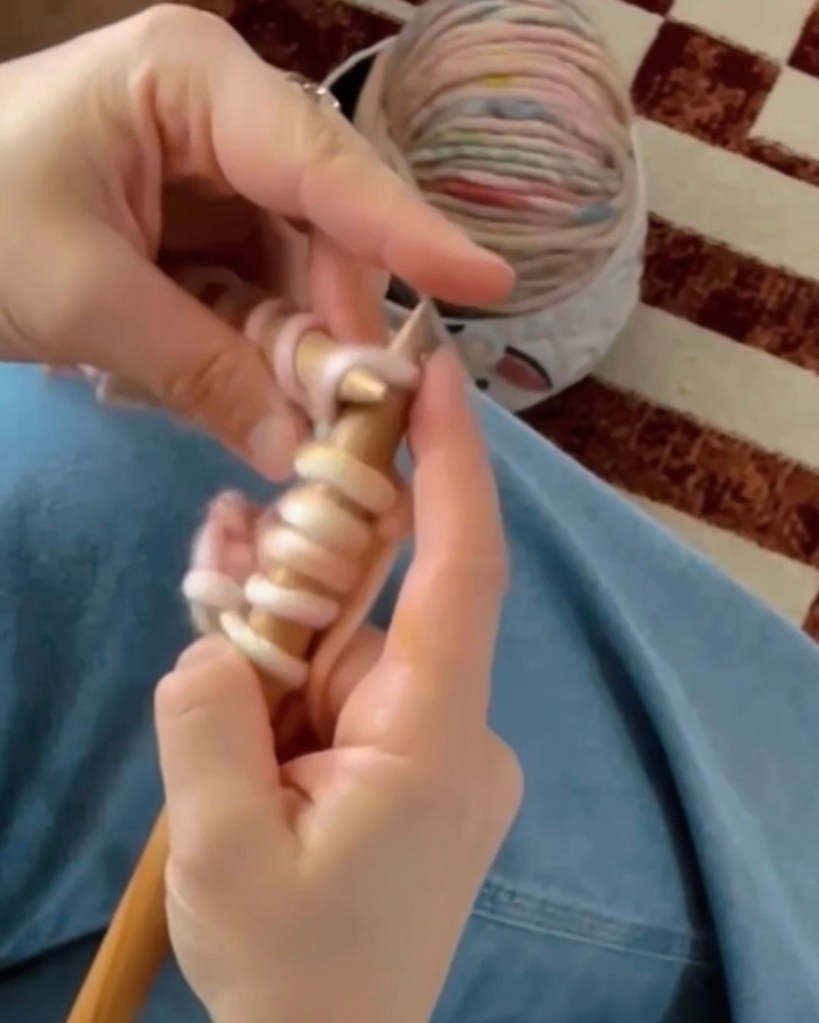
    Step three- purl the next two stitches through the back loops.

    Step four- knit 2 through the back loops.

    Step five- purl 2 though the back loops.

    Step six- continue working in that pattern to the end of the row.

    Continue as many rows as required in 2×2 twisted ribbing.

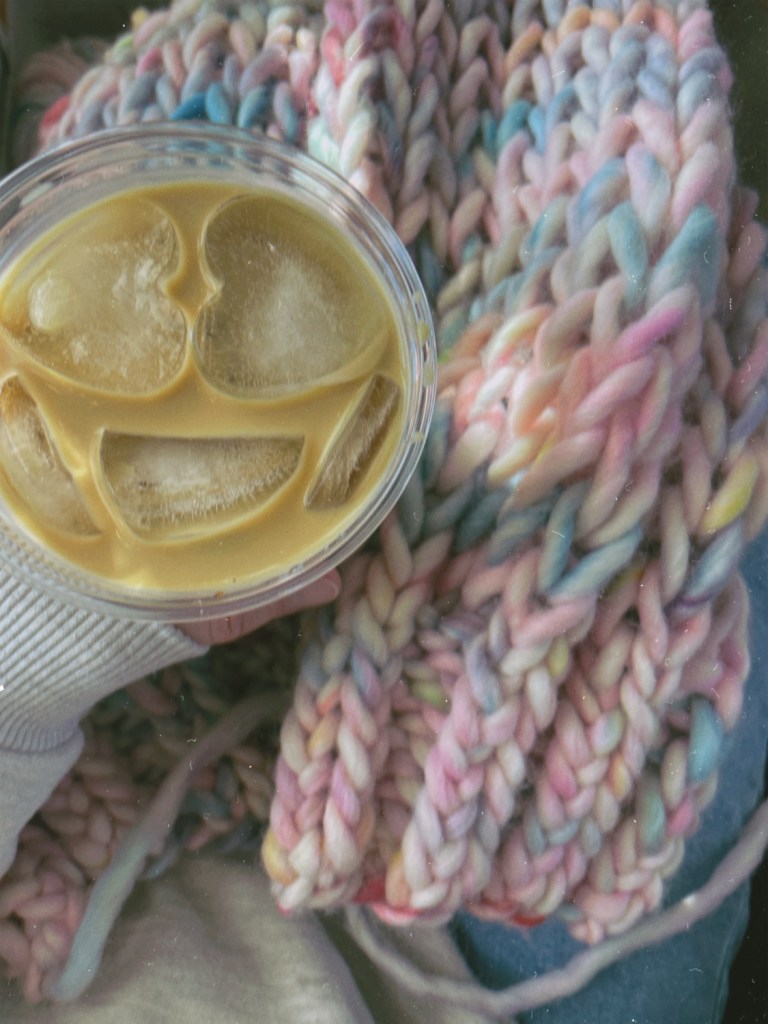
    See how easy? Bonus gorgeous points if you’re using this yarn from We Are Knitters. This is “the wool” in the color called yarnicorn. I literally get heart eyes over this yarn every single time I use it. Truly, you could make any knitwear piece with it and it would turn out beautiful.

    Enjoy!

  • Tutorial | what I mean when I say “working one side”

    Tutorial | what I mean when I say “working one side”

    I’ve had this question posed to me a few times, “what does it mean to work one side?”.

    Many of my patterns feature neckline shaping and this is where “working one side” typically comes in to play.

    Here’s an example from one of my patterns.

    The interesting thing is that sometimes the question comes as “what does it mean to reattach yarn?” And I have to have them go back to the row where the work was split by a mid bind off. No one has actually told me what they’ve done, but I almost wonder if the bind off was missed? I’m really not sure.

    So when you’ve reached the row where it says, for example, knit 39 stitches, bind off 8, knit the remaining 39, do exactly that. You will have created two separate sections of knitting.

    Two separate sides of bind off

    What you will then do for the next row after, a purl row, is purl until you reach where the bind off is. You then will turn your work back to the right side, as you wouldn’t want to knit over the bind off.

    You’ll then work to the end of that row. Turn work. Purl to where you now have your end of row. Turn work. Continue on as the pattern directs.

    When you then go to reattach yarn, you’ll simply insert your right hand needle purlwise into the first stitch, as this will be a purl row.

    Drape your yarn strand over the needle and purl the stitch. I always hold both strands when going through the second stitch for a little extra security.

    Drop the shorter end and continue knitting as normal. You’ll weave that end in later.

    Hope that helps!